

Look with all your eyes, look.
Jules Verne
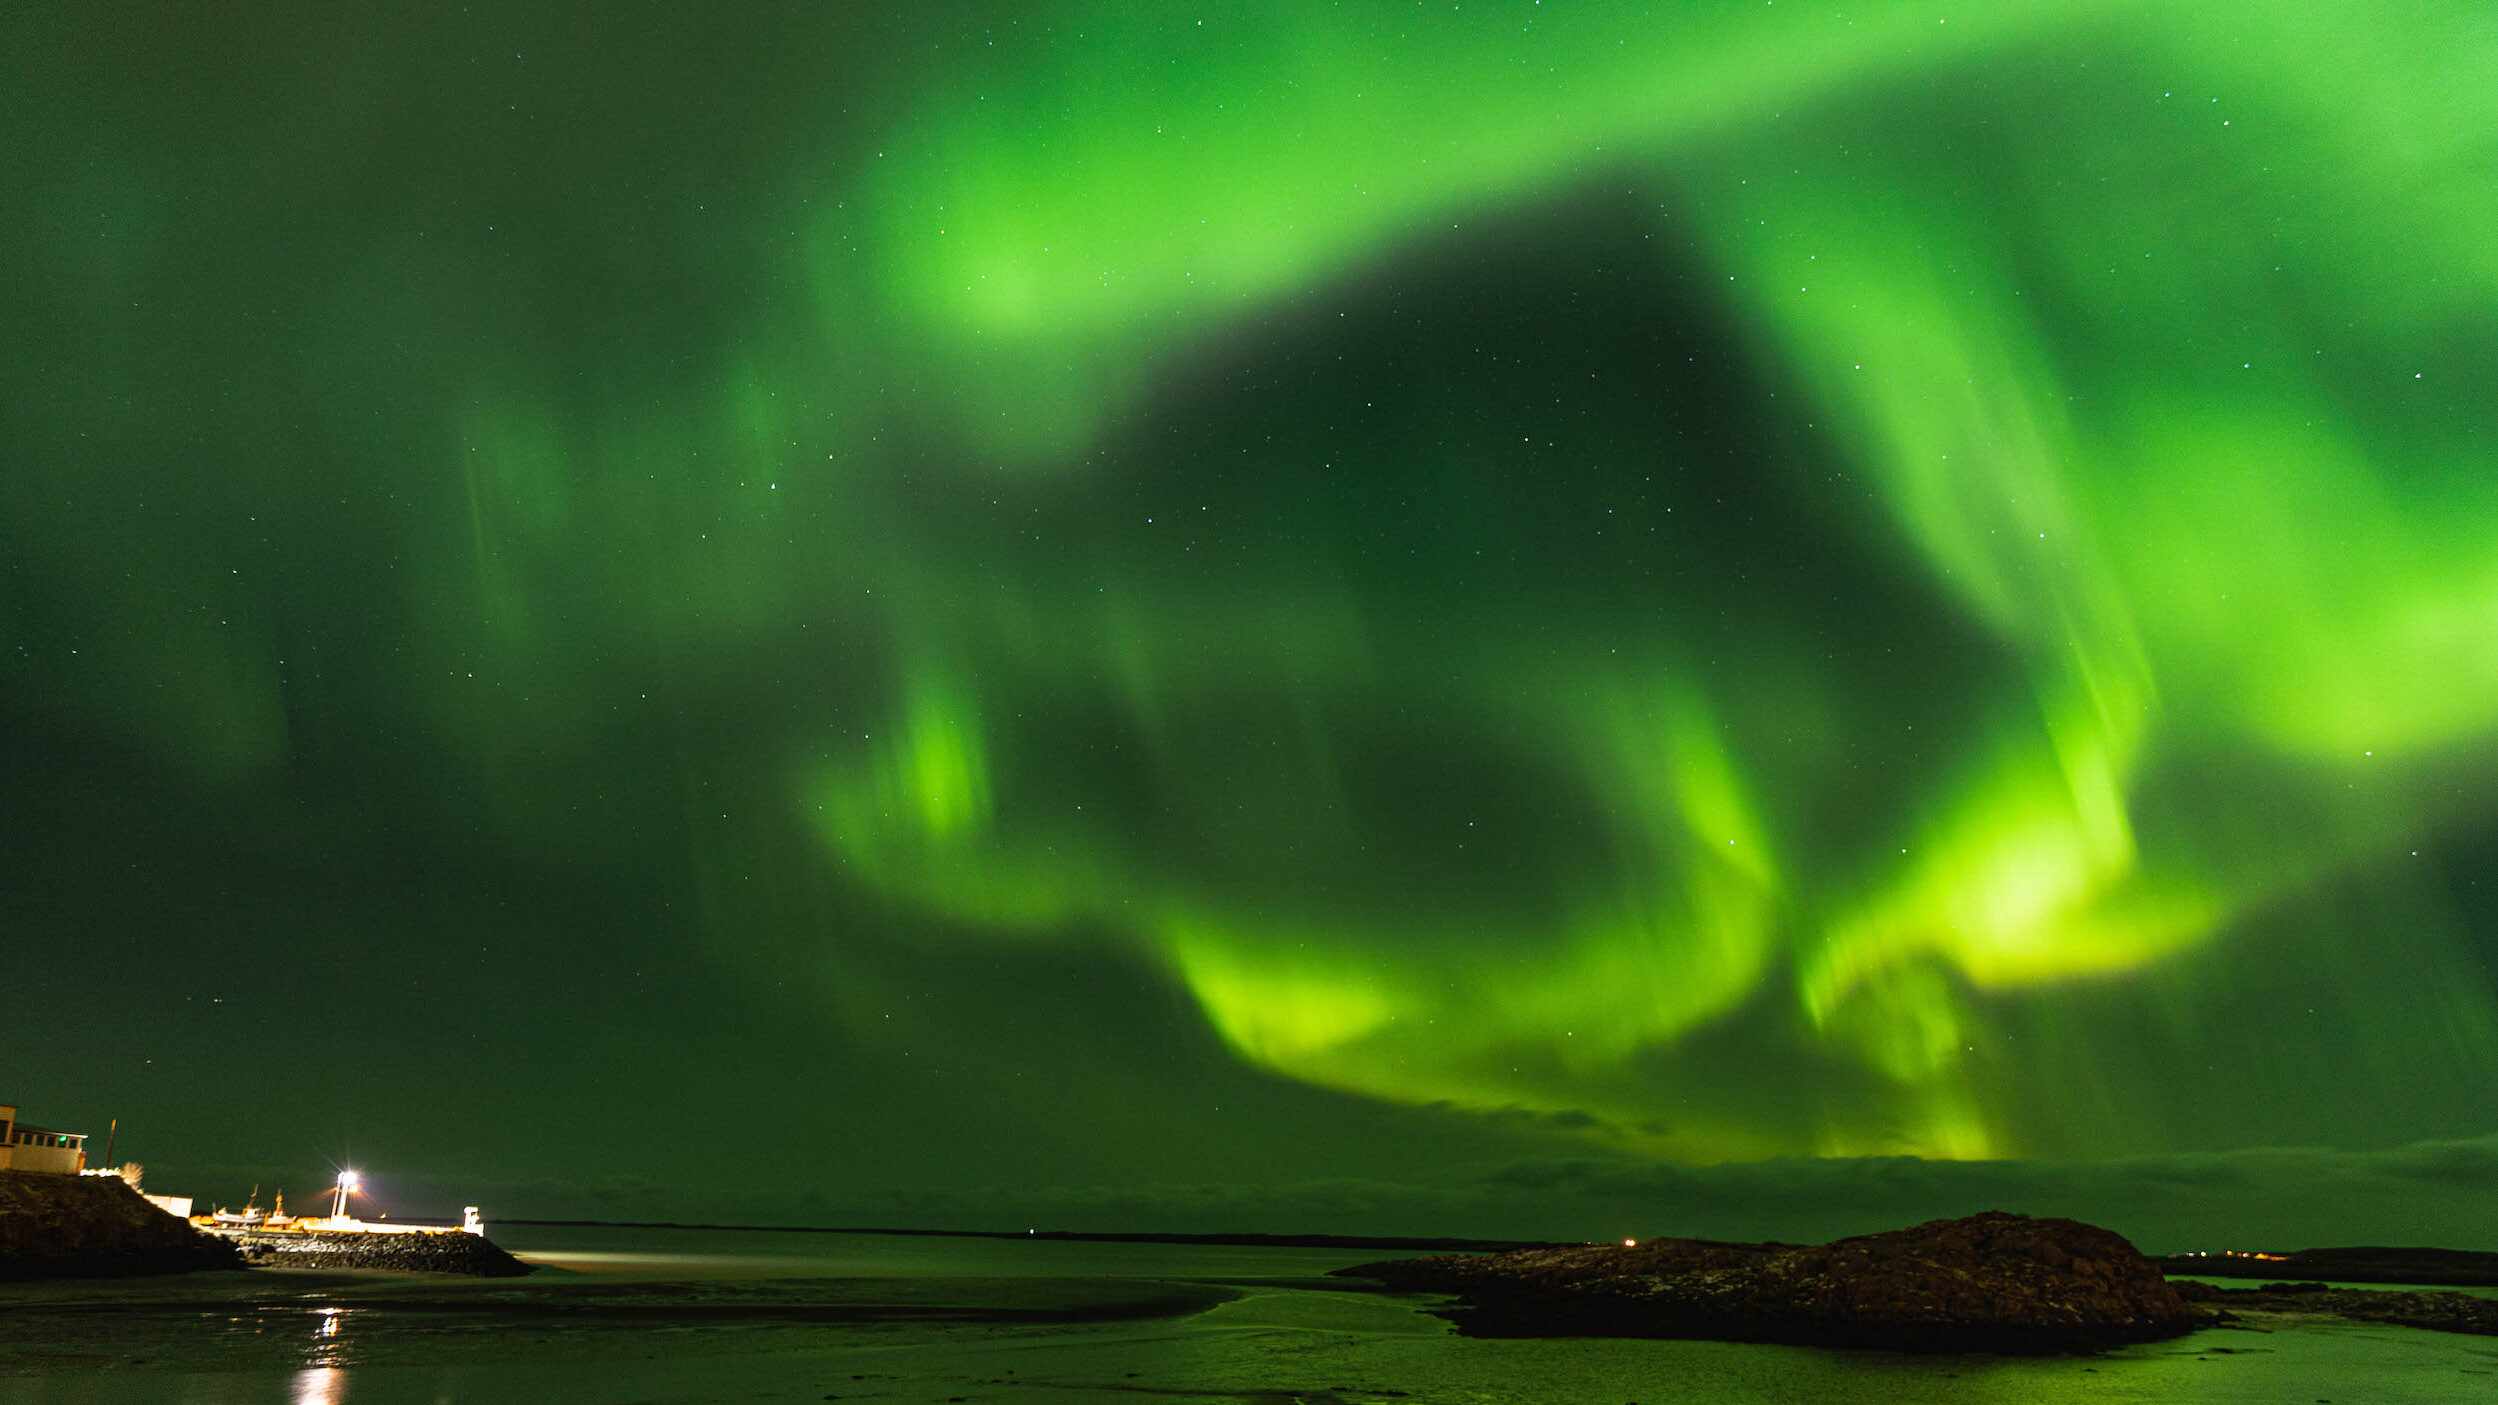
This post is about how to shoot the lights. Hunting them down takes a little more planning with some last minute travel changes. I’ve included some brief information and links towards the end to help. But let’s get down to business and talk about photographing the northern lights!
I debated about writing this post, there are so many out there! But I do get asked often enough about what settings, what camera, and if a cell phone will suffice…I have obviously caved.
My disclaimer about shooting them, especially if this is your first time: The lights come in all shapes, sizes, vibrance, and movement. So don’t be upset if you need to make adjustments. There is a bit of trial and error, and it only takes a quick moment to course-correct the settings.
This post may contain affiliate links. I receive a small commission at no additional cost to you.

Photographing the northern lights with a Mobile Device
One of the main questions I’m asked if a cell will do – and I’m so pleased to say yes! They’re fairly easy to use, especially the newer the smartphone, the better the camera. The newer phones handle low light situations with less noise and even have night photography settings.
Whether you’re an always up-to-date mobile owner, or always slightly behind the times like myself, there are apps to assist with long(er) exposure needs. Even if newer phones and settings brighten and sharpen the image automatically, longer exposure helps capture more natural light, movement, and objects/phenomena in the distance.
Steadying your phone is a good start. I’ve enjoyed having my joby tripod. It’s not a nuisance to travel with and is rather adaptable. It can work as a traditional tripod, of course, but also your imagination is the limit. I’ve wrapped it around trees/branches, fence posts, stair banisters, and around my leg – all for the ‘gram!
Mobile Apps iOS
Slow Shutter Cam – $1.99
Skyflow – Timelapse Shooting (Great for making videos!) – Free
(Additional features are available to purchase.)
Mobile Apps Android
Camera FV-5 Lite – Free
ProCam X – Lite version, Free – Pro version, $4.99
Star Trails – Free
Photographing the Northern Lights with a DSLR
There is always room for personal preference. If you’re looking for a proper landscape photo, or just the sky, these settings will help in both cases.
Equipment
Camera, wide angle lens, and tripod.
Lens
The lens I use is my Canon EF 2.8 24-70mm and keep it open at 24-35mm. If I had a 16 – 35mm, I would probably use that. The lights can jump all over without any notice and the wide angle can keep most of it in frame.
Camera Mode
Manual mode is your best friend. It gives you complete control of your camera. If you haven’t used this at all, or have little experience with it, don’t worry. This post is to help make it as easy as possible.
It’s also easier to keep the screen view on while you’re setting up the shot instead of trying to take care of everything through the viewfinder.
Aperture
I keep my aperture wide open, which is 2.8 with my lens. I know some lenses go as wide as 1.4, too.
PRO: Keeping the aperture wide open easily lets in a lot of light.
CON: Keeping the aperture this wide also narrows the depth of field.
If you want a sharper image/different depth of field, you’ll want to close the aperture a bit. I’m not saying it needs to be as small as possible, but the smaller the aperture, more light will need to be compensated elsewhere. I usually have a longer shutter speed to help.
ISO
I start with lower ISO settings, around 600. The higher the ISO, the noisier the image can get. This is the setting I adjust last because it can so easily ruin the image. (My personal preference!)
Shutter Speed
This is the setting I will adjust first.
I start with about 6 seconds and increase/decrease based on a few things: how vibrant the lights are, their movement around the sky, and how much light is coming from other places.
I have been in the middle of nowhere with super faint lights and kept the shutter open for ten minutes versus been in town with a lot of porch lights, street lights and vibrant northern lights with a shutter speed of 2.5 seconds.
This is where the trial and error is. The more comfortable you are with your camera, the easier it is to gauge what settings to adjust.
Focus
Turn the auto focus off. (If you’ve never done this before, I turn the auto focus off from a switch on my lens.) Use the manual focus and focus on a star. Any star in the sky! If that’s not doable, I’ve focused on really distant street lights, used my headlamp and pointed it in the general distance to focus on wherever the light has landed.
Optional Settings:
To ease some post-production, change the temperature of the photo before you take it. I favor warmer photos, so my temperature settings usually 5200k-5500k. This means the lights will appear a bit greener in the photo. If you’d like to see the lights to be a bit more on the cool/blue side, set the temperature to around 4800k.
This is usually found in the white balance settings on your camera.
Take the Photo! How did it come out?
Troubleshooting Tips
Nothing in focus? Adjust your manual focus.
Too much bokeh? Close your aperture setting. (Go to a higher aperture, such as 5.6. Remember, you might need to increase the shutter speed.)
Too dark? If you used 6 seconds, increase to 8 or even 10 seconds.
Still too dark? If you used 600 ISO, try going up to 800, or even 1000.
Too bright? If you used 6 seconds, reduce to 5 or 2.5 seconds.
Still too bright? Reduce ISO setting from 600 to 400.
Websites to Track the Lights
Northern Lights
There are a lot of places to view the Northern lights. They’re usually active October – April, and I even caught them in Iceland at the end of August a few years ago! (Slightly rare.) Here are sites about the Aurora Borealis in general. There are specific sites depending on the country you’re visiting and are easily findable with a quick google search.
University of Alaska Fairbanks
Southern Lights
There are not as many places to view the Southern Lights. They’re usually active March – September. There are fewer places to view the Aurora Australis just because of access to land and the dangerous journey it would be to get to places in the southern hemisphere during their winter.
Let me know if this post has helped you! And feel free to tag me in any Northern/Southern Lights photos on instagram. @tabitha.bear
How Did Photographing the northern lights go for you?
Find more photography tips on the blog (<- link)!